What is liquidity pool?
A liquidity pool is a collection of tokens in Uniswap created by liquidity providers, receiving rewards in the form of transaction fees. Traders use these pools to make cryptocurrency transactions.
Uniswap supports smart contracts for Ethereum and various ERC20 tokens, based on an “automated market maker” design. When a user makes a transaction, tokens are immediately transferred from the pool.
Users have the ability to create new trading pairs in a new liquidity pool for tokens without paying any fees (except Ethereum gas fees).
How to add liquidity on Uniswap
In this article, I will show you how to use Uniswap on the web and with Metamask.
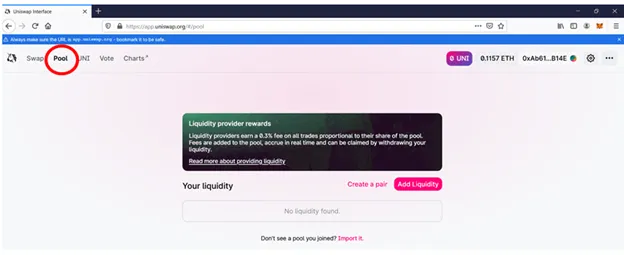
Step 1: Visit Website: Https://app.uniswap.org/
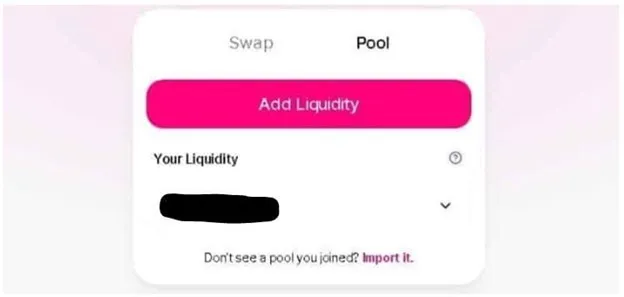
Step 2: Then Click on “Pool” in the upper left corner
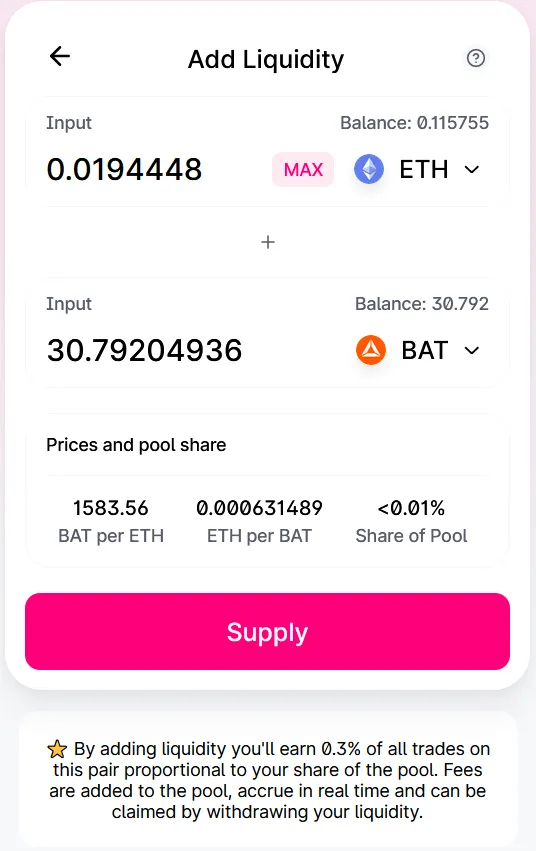
Step 3: Click on “Add Liquidity”. Then select the trading pair. For example, if a user chooses the trading pair ETH and BAT, the user must deposit both ETH and BAT with equal value into the pool.
Step 4: After entering the number of tokens, the user clicks “Supply”,
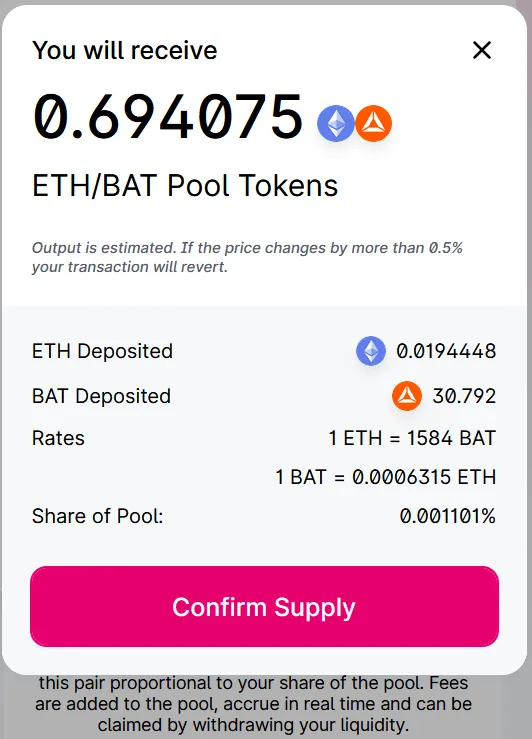
The web interface will display the pool contribution percentage and request “Confirm Supply”
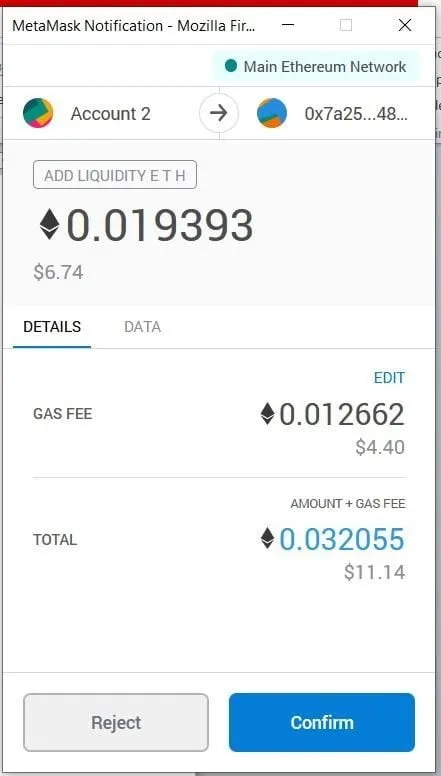
Step 5: After Confirming, MetaMask will display the user’s transaction and the required gas fee.
Click “Confirm” to trade then you can check the status on etherscan.
When your trade is successful, you will be a liquidity provider and will earn liquidity fees for every trade in that liquidity pool.
Uniswap charges 0.3% from traders. The protocol distributes a portion of these to liquidity providers.
Related: What is The UNI Token? What Do You Need to Know about UNI Token?
How to withdraw liquidity on Uniswap
At any time, you can withdraw your liquidity (partial or full) to get your tokens back to your wallet. Users will receive a fee along with the tokens they have earned during that period.
To withdraw your existing liquidity, Select “Pool” and then “Your Liquidity”. At the Your Liquidity window, enter the liquidity information you want to withdraw.
Click “Remove Liquidity”. Then confirm liquidity withdrawal and gas fee payment.
How to trade on Uniswap using Metamask
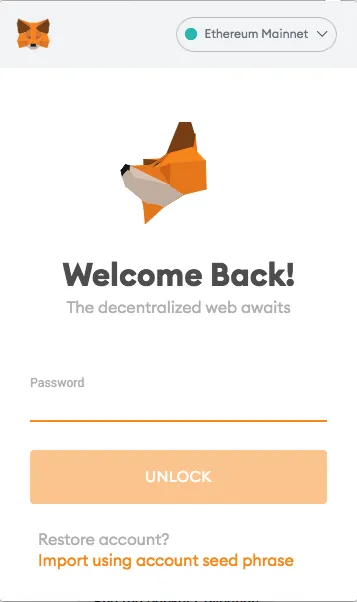
Step 1: Enter your password and log in to Metamask
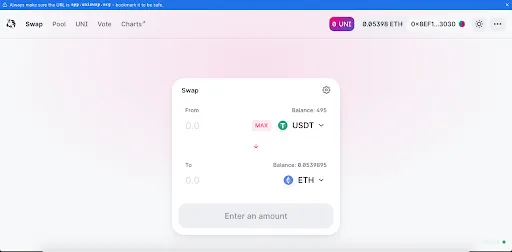
Step 2: Access Uniswap via Link: https://app.uniswap.org/#/swap
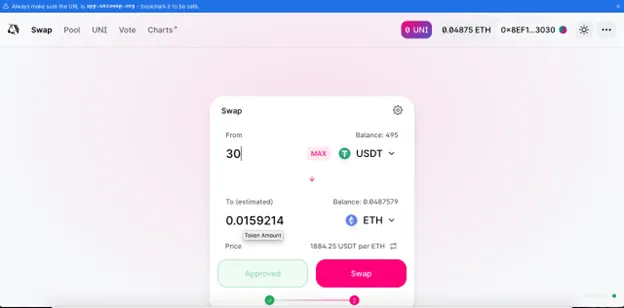
Step 3: Select the token pair you want to swap, within the framework of the tutorial, AZC News will choose the pair USDT -> ETH
Step 4: Select “Approve” to allow Uniswap to access your token. (Note: you only need to “Approve” when you trade that token for the first time on Uniswap)
Step 5: Select “Confirm” on the Metamask interface to confirm the transaction. After “Confirm”, Metamask will notify “Approve” successfully
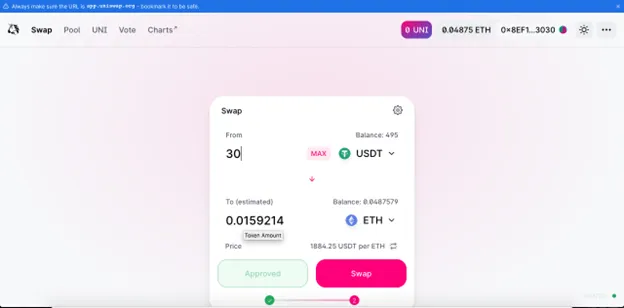
Step 6: Select “Swap”
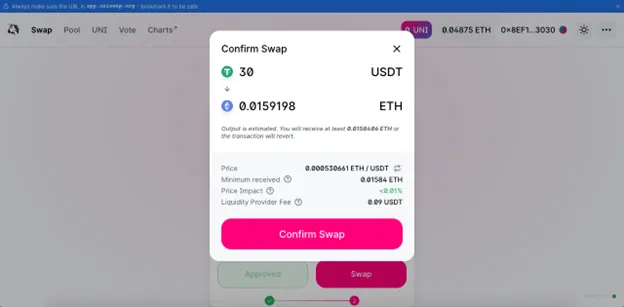
Step 7: Select “Confirm Swap” to confirm the transaction
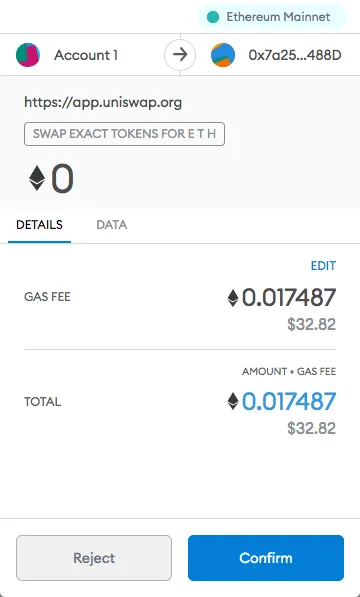
Step 8: At the Metamask interface, you will see the gas fee you need to pay. If you agree with this gas fee, select “Confirm”
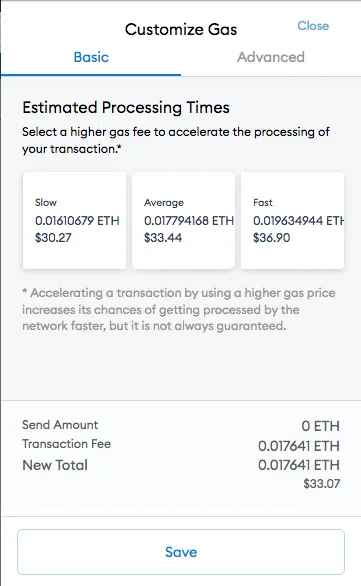
If you want to increase or decrease the Gas fee, in the “Gas Fee” section, select “Edit”
After selecting, you will see the following interface
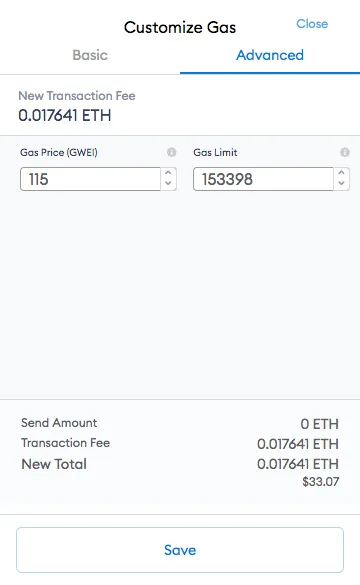
At the interface, you will see 2 sections “Basic and “Advanced”, you select “Basic” if you want to customize the gas fee according to Metamask’s recommendations. If you want to manually adjust “Gas Fee” to increase transaction speed in certain situations. For example: when the ETH network is congested, or when you are forced to gas war to participate in IDO, SHO…
In the “Advanced” section, if you want to increase or decrease the gas fee, you adjust it in the “Gas Price (GWEI)” box.
After customizing the gas fee as desired, select “Save”
Step 9: Select “Confirm” to confirm the transaction. You can then check the transaction status on Etherscan or wait for Metamask to notify you of completion.
Summary
Through the above tutorial, AZC News hopes you can swap tokens on Uniswap yourself.

